What to know before insulating a drywall partition
6 min read · Written by our team · Updated 26 Sept 2026
In short
Insulation in a drywall partition delivers the expected sound insulation only when the whole system is built right: choose a wall system with supporting data, fill the whole face of the cavity without gaps and without packing it too tightly, seal leaks around the wall edges and penetrations, and place outlets correctly. Small mistakes on site can cut the sound insulation a lot.
Before you start: settle the wall system
An STC or Rw belongs to the whole wall system. If you need the figure a manufacturer states, use the boards, framing, stud spacing, cavity depth and insulation in those details. See What are STC and Rw
Check that the insulation thickness suits the cavity depth
If the wall must be fire-rated, follow the tested system and have a qualified designer or installer take responsibility. Substituting materials yourself may mean the wall no longer matches what was tested
Fitting the insulation
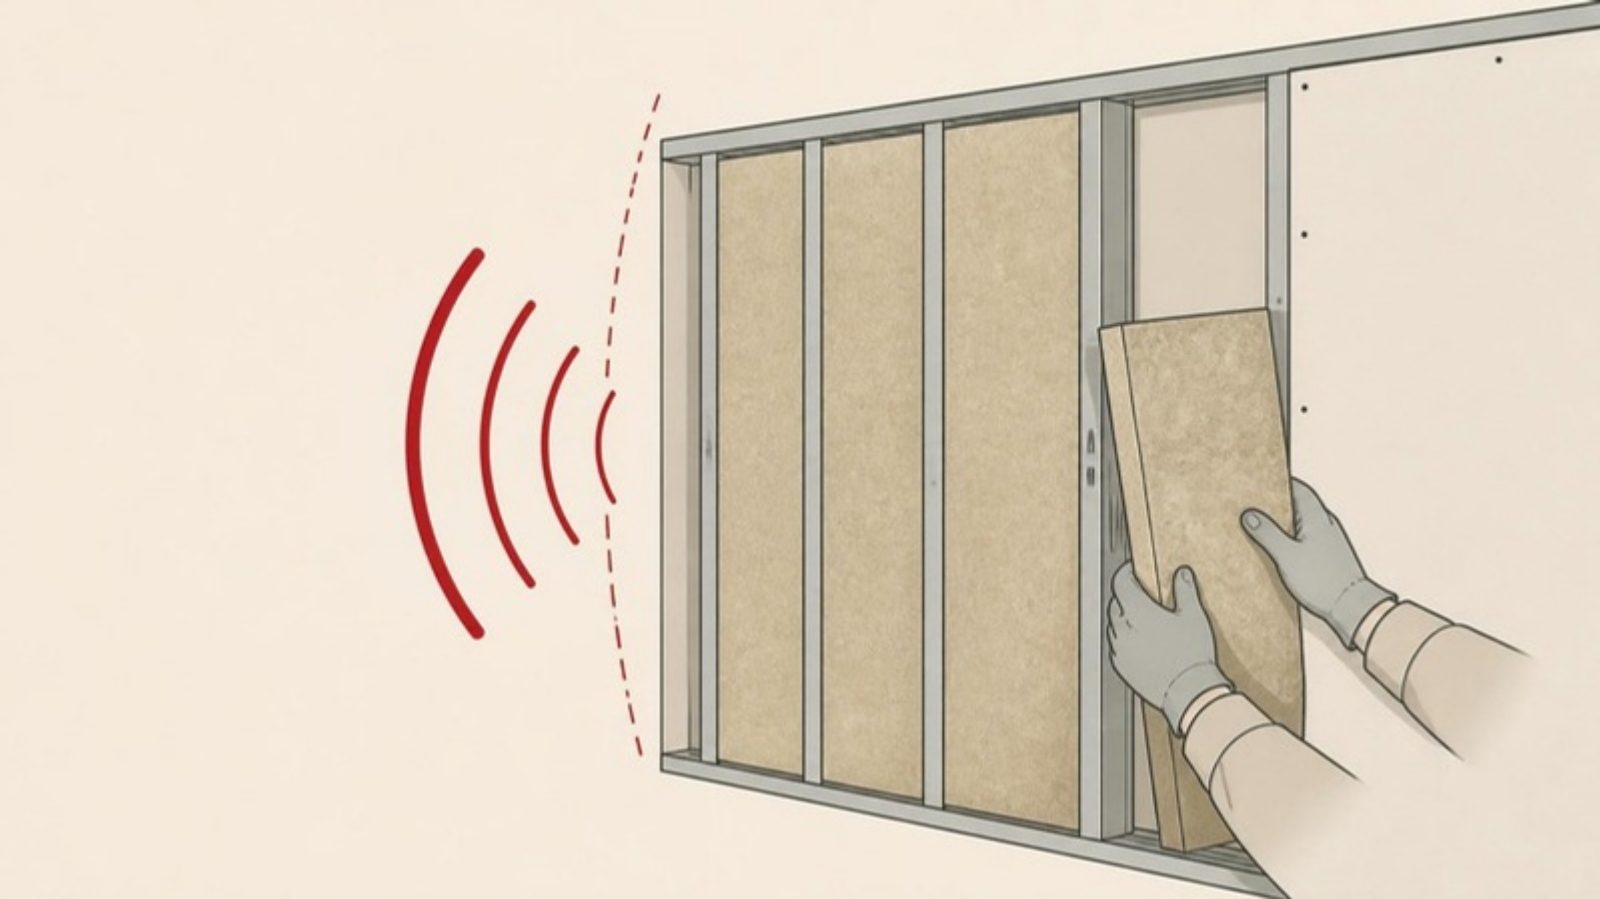
Fill the whole face of the cavity — cover the full space between studs with no gaps at the top, bottom or sides. NRC research found that partly filling a cavity works less well than covering its whole face with the same amount of material
Cut to fit — the SCG Cylence ZoundBlock installation guide says to measure and cut the slab slightly larger than the space so it holds itself in place, and to install from the bottom up
Don't over-pack — don't force insulation thicker than the cavity so it pushes on both boards. NRC research notes that overfilling a cavity with fairly dense, rigid material risks sound travelling through the material itself
Stop it slumping — in tall walls or ceilings, fix it as the manufacturer recommends so it doesn't slide and leave gaps later
Look after facings — if the insulation has a film or wrap, such as a moisture barrier, avoid tearing it unnecessarily, and keep the material dry before installation
Wall perimeter — seal joints between the wall and the floor, ceiling and side walls with acoustical sealant or as the wall system specifies
Board joints — tape and finish board joints properly
Pipes and cables through the wall — close the gaps around them fully
Walls and ceilings — for sound separation between rooms, a wall that stops at the suspended ceiling can let sound go round over it. See Sound transmission and flanking
Outlets and services in the wall
Don't place outlet boxes back to back on both sides of the wall. NRC research found that the position of metal outlet boxes can affect a wall's sound insulation
Seal around outlet boxes as the designer or wall-system manufacturer recommends
Electrical work must be done by a qualified electrician
Moving outlets, running cables or working near live wiring in the wall must be done by a qualified electrician. This article explains the acoustic principle only; it is not an electrical guide.
Safety during installation
Cutting and handling glass wool or stone wool can irritate the skin, eyes and airways. Wear gloves, long sleeves, eye protection and a dust mask as the manufacturer's safety information advises, and work in a ventilated area. See Is stone wool safe?
Common mistakes
Filling only half the cavity, or leaving gaps at the edges
Forcing in insulation thicker than the cavity so the boards bulge
Not sealing the wall perimeter, or leaving gaps around pipes
Outlet boxes placed back to back
Building the wall only up to the ceiling and expecting the result of a full-height wall
Changing materials or stud spacing from the documented design and still quoting the original STC
National Research Council Canada — Construction Technology Update No. 1, Control of Sound Transmission through Gypsum Board Walls (Warnock & Quirt, 1997)
National Research Council Canada — Construction Technology Update No. 27, Effect of Electrical Outlet Boxes on Sound Isolation of Gypsum Board Walls (Nightingale, Quirt & Sultan, 1999)
SCG — SCG Cylence ZoundBlock installation guide
USG — Sound Control Manual (perimeter caulking)
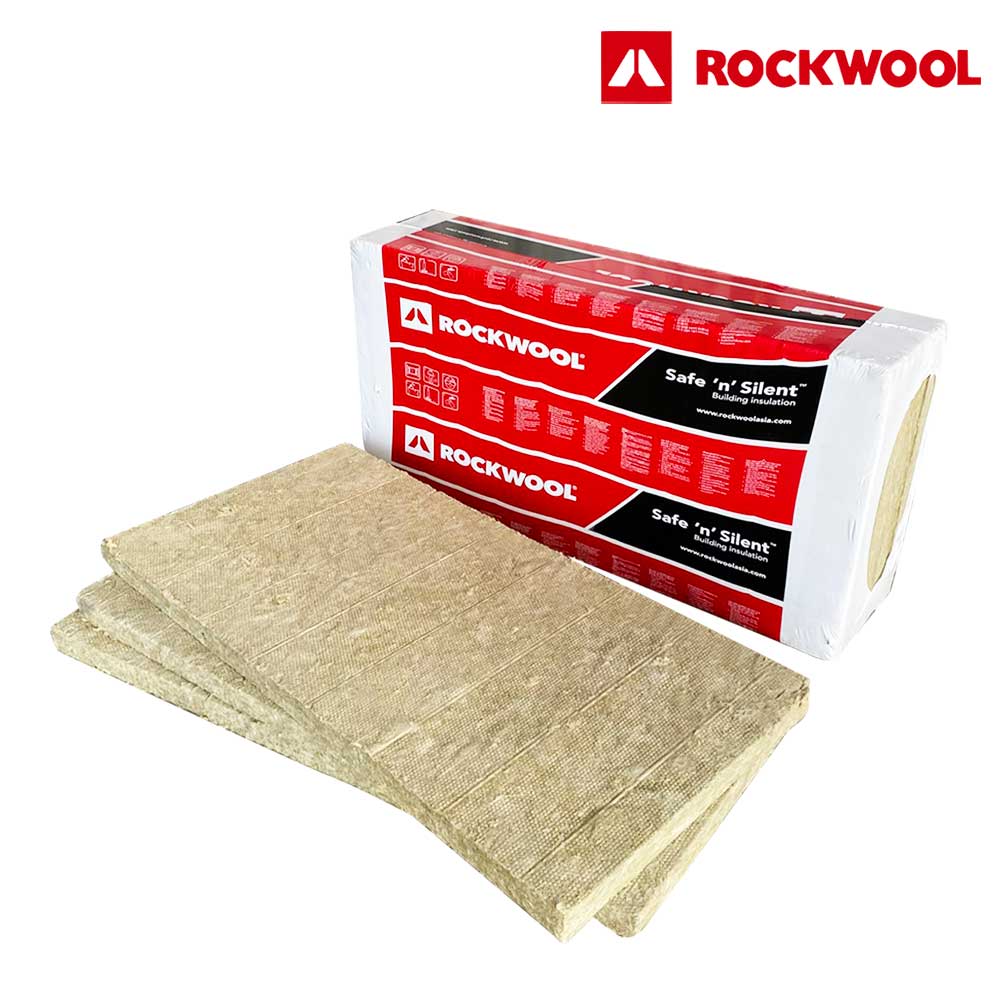
ROCKWOOL (Thailand) — Safe 'n' Silent Pro data sheet
Check the message below, then press “Open LINE”. On a phone LINE opens with this message; on a computer LINE shows a QR code to scan with your phone. If LINE does not open, copy the message into the chat, or call us.